UpCloud: Setting Up a Private Server with Public Access via a NAT Gateway, and a Load Balancer
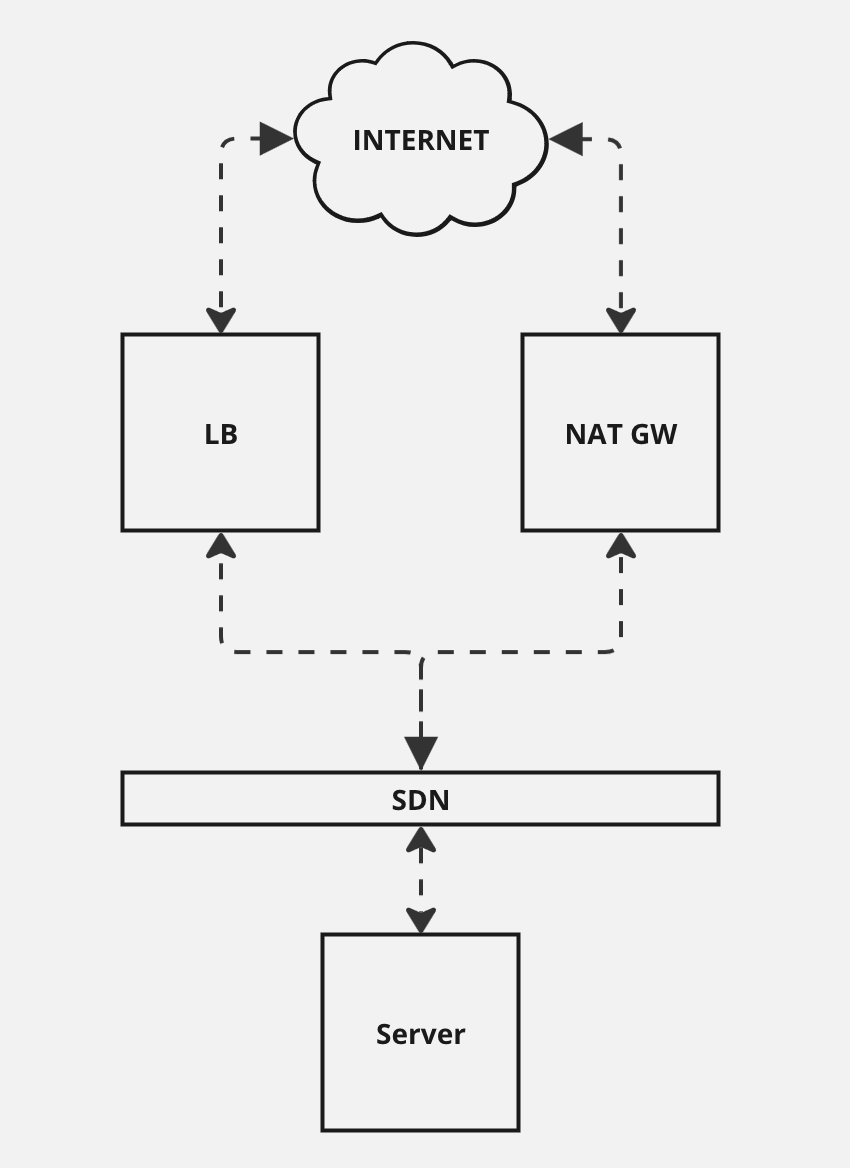
Architectural Diagram.
For this tutorial we will be creating a server that is only connected to a private network and then enabling it to communicate to the Internet via a NAT gateway. The load balancer is optional but highly useful because it enables you to connect to your server easily. Alternatives to it are to use a public IPv6 address or a bastion server.
Let’s get started.
Create the SDN and Router
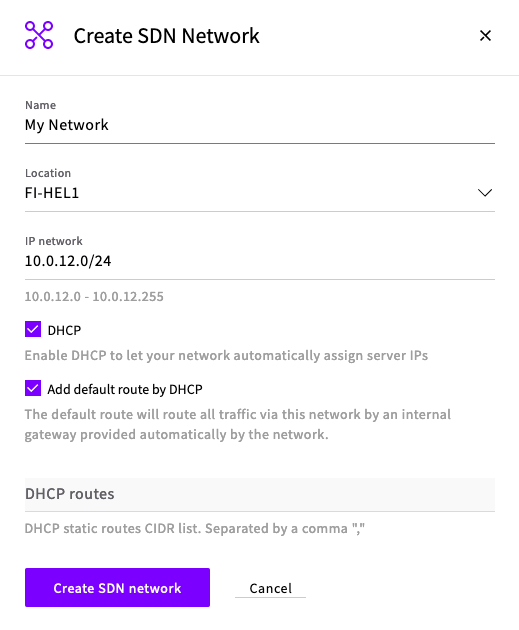
- On the UpCloud dashboard under Network > Private networks create a new software-defined network (SDN). Ensure that you have selected Add default route by DHCP because it will be necessary for the NAT Gateway later.
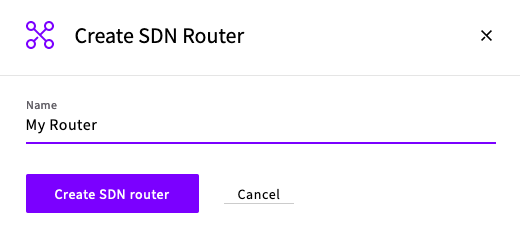
- Then on the UpCloud dashboard under Network > Routers create a new SDN Router.
- Select your new router. Select the Location of your SDN and then attach your SDN to your Router.
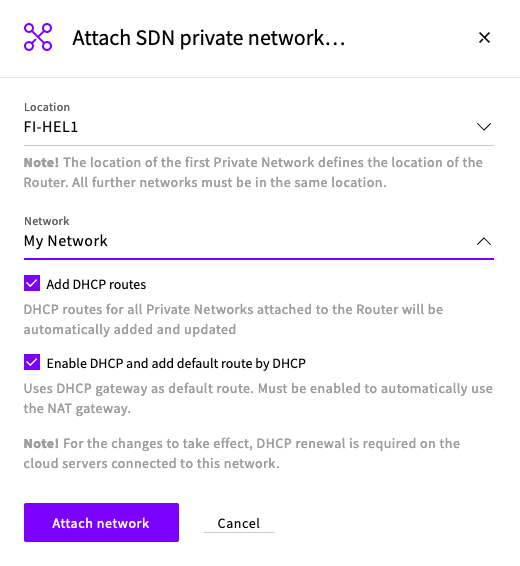
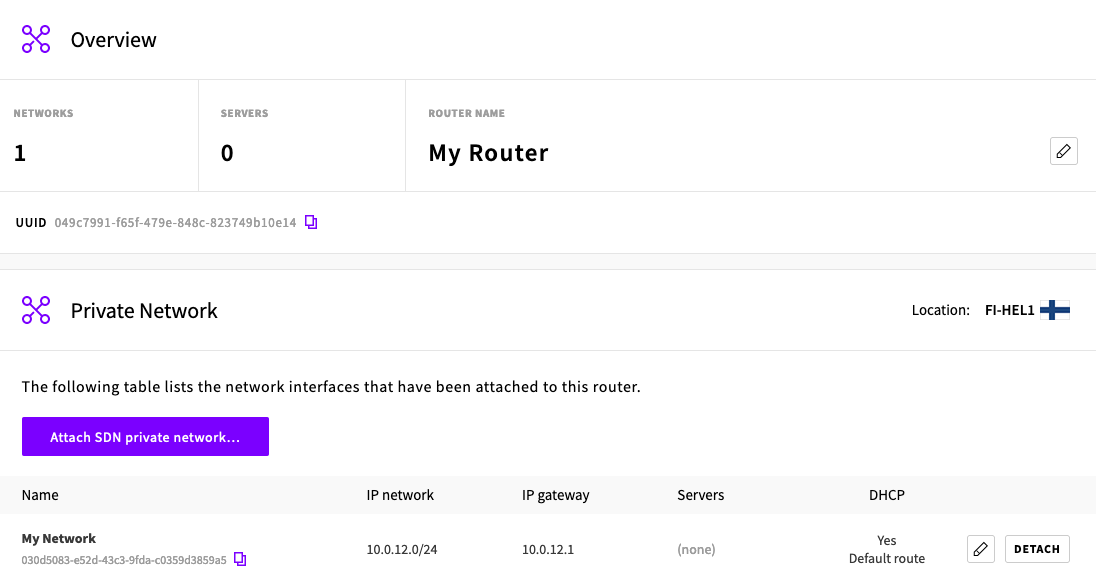
You should now see your SDN attached to your Router.
Create a NAT Gateway
-
Once both the router and SDN are created and connected. On the UpCloud dashboard under Network > NAT Gateways create a new NAT Gateway.
-
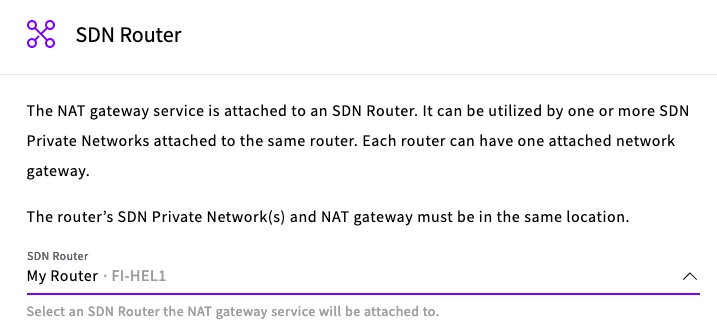
Select your SDN Router in the zone your SDN is located.
-
Select your plan, either Development or Production, and your Service name, then click Create NAT Gateway.
Wait for your NAT Gateway to finish its setup and enter a Running state (this might take a few minutes).
Create your Server
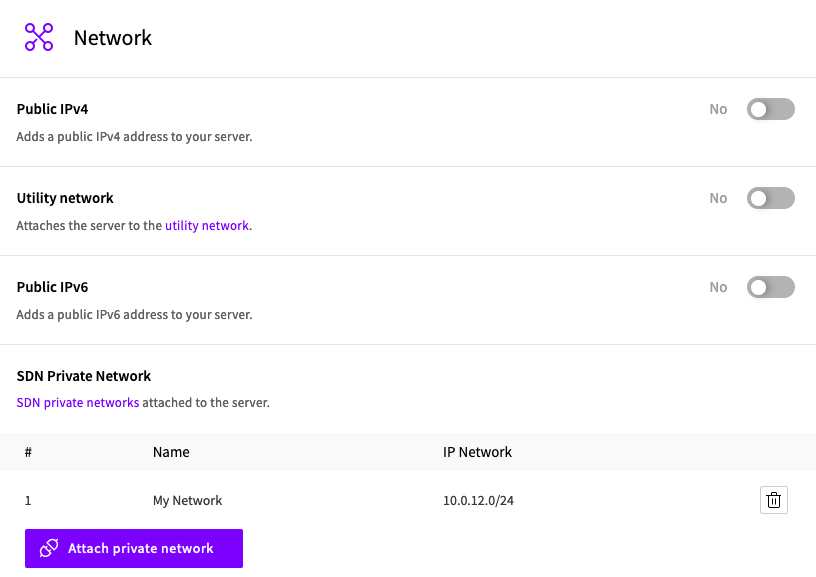
- In the same zone as your SDN. Create a new server with only a private SDN connection. It is optional to have a Utility network. The SDN settings can be left on their defaults.
Note: Adding a public IPv4 address to your Linux server WILL cause routing issues due to a conflict between multiple default routes (SDN + public IPv4).
-
Choose your Login method and optionally add an initialization script to allow you to login with a password.

Note: If you want to SSH login with a password then change cloud-init’s ssh_pwauth to true.
Create your Load Balancer
-
Create a Load Balancer in the same zone as your SDN.
-
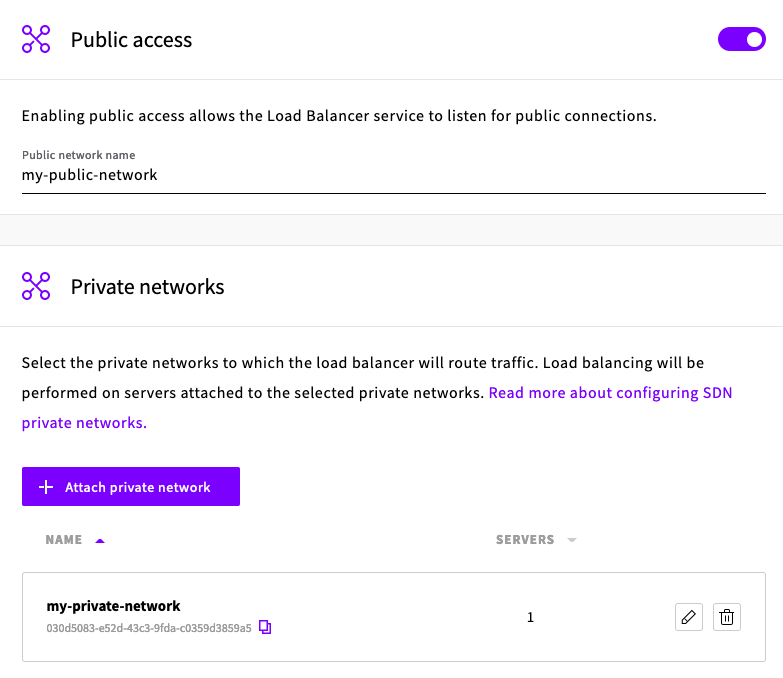
Enable Public access (for SSH) and attach your SDN network.
-
Create your backend and add your server as a member.

-
Enable the TCP health check.
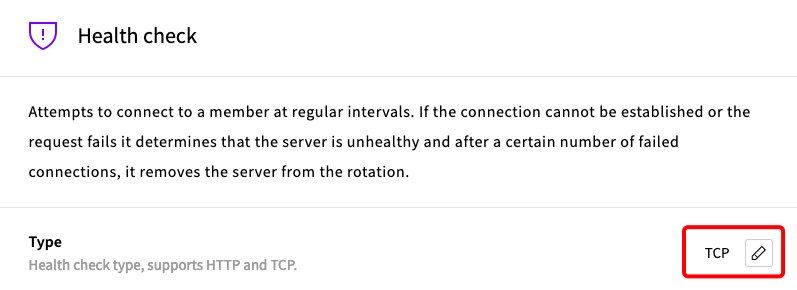
-
-
Leave all other properties at their default values and click Create. You should now have your backend created with your member.
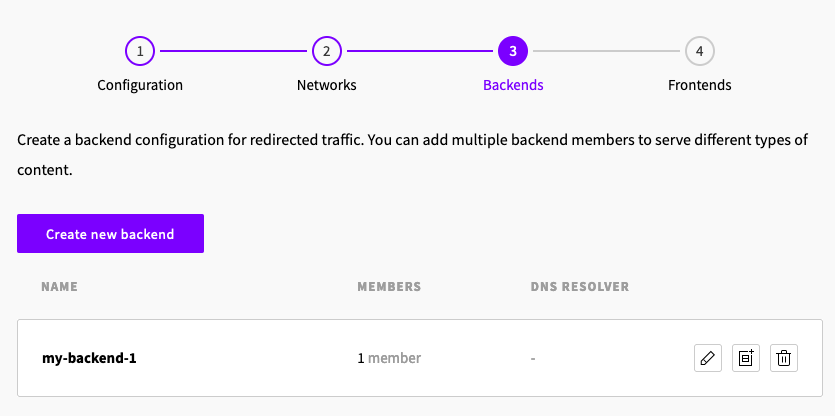
-
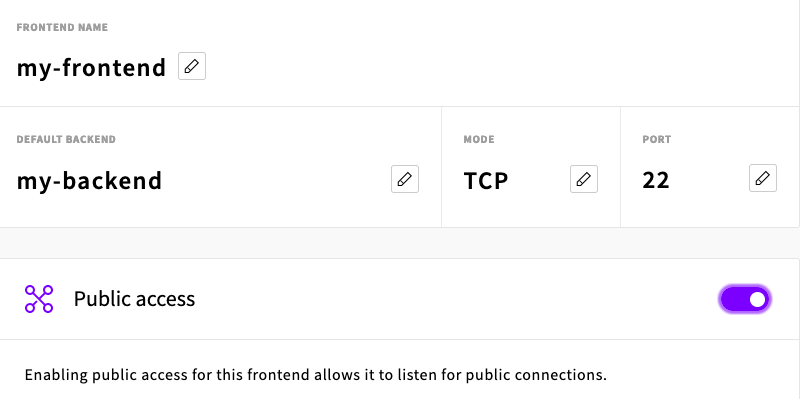
Create a new TCP frontend that listens on SSH port 22 with the default backend of your server.
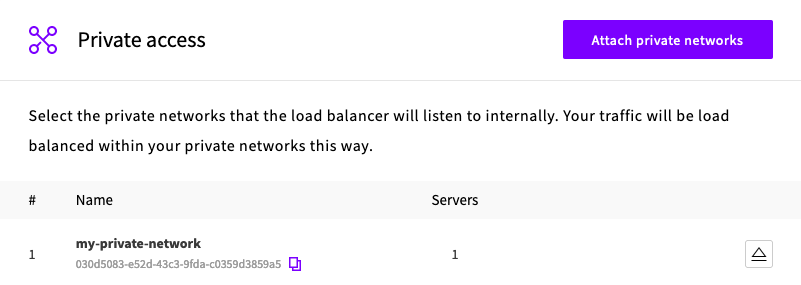
- Attach your SDN to Private access if you want to listen internally.
Leave all other settings default and click Create.
-
Create the Load Balancer. Wait for the Load Balancer to enter a Running state.
Connect to your Server
You can now connect to your server over SSH. On the dashboard go to Load Balancers > Services and select your load balancer. Find your Public hostname on the Overview > Public hostname section and use it to connect.

1ssh root@lb-0a453da97d604876af28d646c7be4b0f-1.upcloudlb.com
2The authenticity of host 'lb-0a453da97d604876af28d646c7be4b0f-1.upcloudlb.com (185.26.50.202)' can't be established.
3ED25519 key fingerprint is SHA256:XXXXXX.
4This key is not known by any other names
5Are you sure you want to continue connecting (yes/no/[fingerprint])? yes
Unfortunately, we are not done yet. Since we do not have a public IP on this server we must configure our own nameservers. This changes depending on your OS but on Ubuntu 22.04 (which uses netplan) it is very easy.
1nano /etc/netplan/50-cloud-init.yaml
 1# File: /etc/netplan/50-cloud-init.yaml
 2# ...
 3network:
 4    version: 2
 5    ethernets:
 6        eth0:
 7            dhcp4: true
 8            match:
 9                macaddress: fa:2b:17:16:ca:05
10            set-name: eth0
11            nameservers:                        # Add
12              addresses:                        # Add
13              - 94.237.127.9                    # Add
14              - 94.237.40.9                     # Add
Test your new changes with:
1netplan try
If there are no errors and you are asked if you want to keep these settings press Enter. Then save these changes with:
1netplan apply
Test that you can ping a domain. If DNS resolution works then you have successfully finished setting up your server! 🎉
Bonus: NAT Gateway for Private Cloud
NAT Gateways can be used in Private Clouds but only if they are deployed via the API. The dashboard will give you an error.
1Validation error: zone
2Message: You have no permission to access this zone or the zone is not public.
The NAT gateway attaches to SDN routers and SDN routes allow networks from both parent and child zones. All private clouds are essentially from a network infrastructure perspective child zones of their parent zone, e.g. the parent_zone attribute here.
https://developers.upcloud.com/1.3/5-zones/
Let’s say that when we have a Router created and private cloud us-example1 SDN is attached to it.
For us-example1 which is the child zone of let’s say public cloud us-nyc1 you need to create the NAT gateway with the public cloud zone.
https://developers.upcloud.com/1.3/19-network-gateways/#create-service
JSON body request example:
1{
2  "name": "example-gateway",
3  "zone": "us-nyc1",
4…
FIN